Setting up Apache
Apache2 is an open-source web server software that handles HTTP requests and serves web content to users. It is widely used to host websites, applications, and APIs. Apache2 supports modules for enhanced functionality, including SSL/TLS encryption, authentication, and load balancing. It can serve static and dynamic content, integrating with programming languages like PHP and Python. It is highly configurable, allowing administrators to set up virtual hosts, rewrite URLs, and manage access controls. Apache2 runs on various operating systems, including Linux and Windows, making it a popular choice for web hosting and development. Alternatives to apache2 includes: nginx [TODO: add more...]
In this section we will set up and run an Apache instance, which enables anyone in the world to see the HTML content we are hosting on the NREC instance. It is based on the original guide for Ubuntu, but modified so that we can access a remote VM as a host.
Prerequisites:
To do this section, we assume you have already set up an NREC instance. If not, check out [this guide] on how to do so. You can also run apache on a non-VM, e.g. a "physical" computer. However, the advantage of running apache (or similar services) on a NREC VM is that 1) you do not need to acquire a physical computer 2) apache2 will require that the computer
Step 1: Log in to the NREC instance via SSH
See this section for how to log in to your NREC instance using a SSH connection.
Step 2: Installing apache
Run
sudo apt update
sudo apt install apache2
Step 3: View the apache2 test site
Run
hostname -I
to get a list of different IP address available for your NREC VM. Choose the first one (e.g. 158.37.65.190), then run:
curl 158.37.65.190/
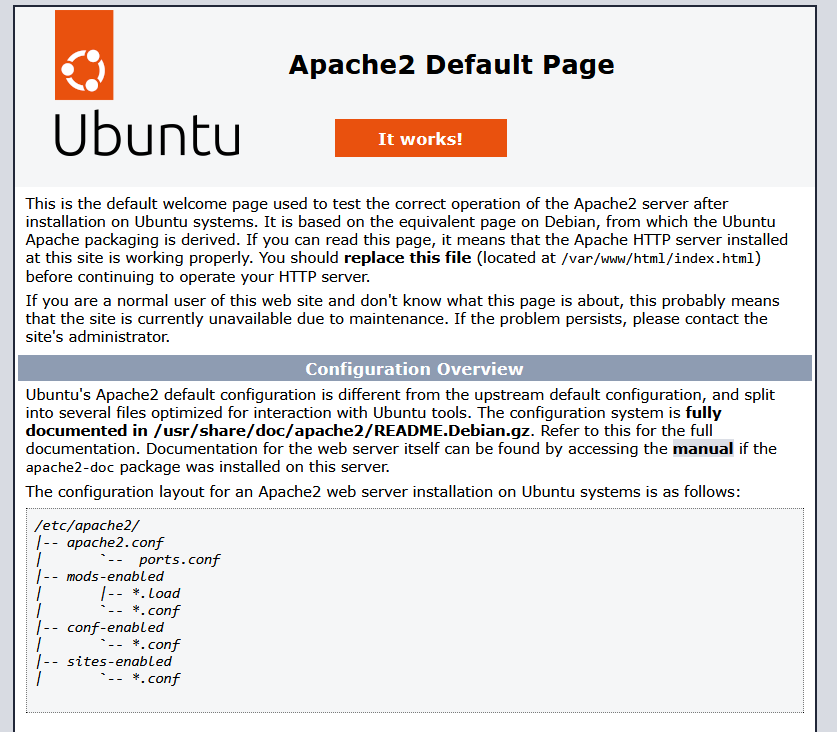
You should now be able to see some HTML-text in your terminal window. You can also enter this IP-address in your internet browser (on any computer with an internet connection*) like so:

and it will show the rendered HTML text:
 * given that we have provided the security rules as in [the tutorial]
Note: If you do not see the rendered website above, double check your IP address. If it starts with 10 instead of a 3-digit integer, your NREC VM might be set up with the incorrect network settings. To check this, deactivate your VM on the NREC website, and edit Network setting (TODO: check this)
Step 4: Make custom content
You can also edit the contents of this mock HTML. First, we will make a backup of the default HTML. On the VM, run
sudo mv /var/www/html/index.html
then, we will make a new index.html with custom content:
sudo nano /var/www/html/index.html
fill in this textfile with the line (or any other text you want to appear):
Welcome to my custom website
then, wait ~10-30 seconds, before reloading the IP address in the browser. You should now be able to see the contents of index.html in your browser.
Other useful information
On the VM, you can also run
curl 127.0.0.1
to view the contents of index.html. This IP address is known as the loopback addres and is used to refer to it self. You can also reconfigure this by running
sudo nano /etc/hosts
and add the line
127.0.0.1 test.url.com
If you now run
curl test.url.com
you should also be able to view the contents of index.html